
Ensure phishing simulation delivery to M365 inboxes with Microsoft Advanced Delivery
Find out how to set up Microsoft Advanced Delivery and ensure your phishing simulations are delivered successfully to your end users.
Setting up Microsoft Advanced Delivery lets you easily bypass spam filtering and quarantine to ensure that your simulated phishing emails arrive to your end users' mailboxes.
How to set up Microsoft Advanced Delivery
Step One - Open the Microsoft 365 Defender portal
Go to the Microsoft 365 Defender portal at https://security.microsoft.com
Step Two - Find Advanced Delivery
Go to Email & Collaboration > Policies & Rules > Threat policies > Rules > Advanced Delivery
Step Three - Open the Phishing simulation tab
You will find this next to the SecOps mailbox tab.
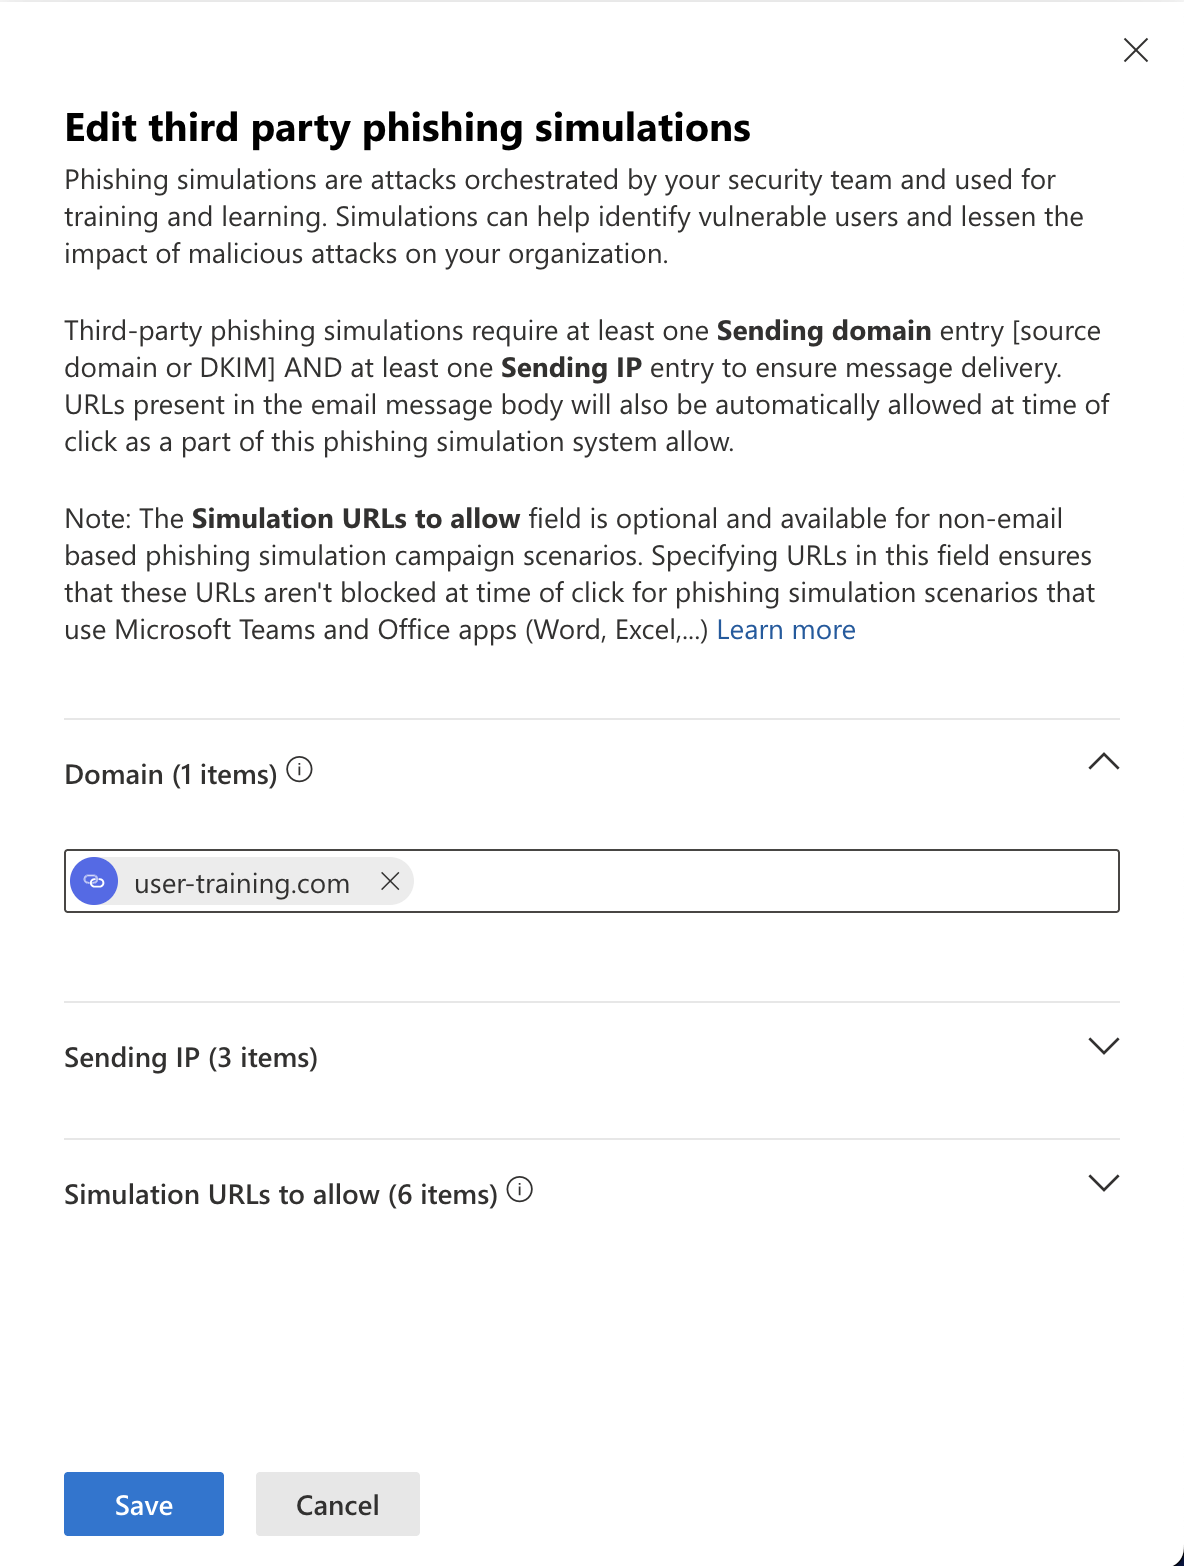
Step Four - Add or Edit your simulation settings
Click Add to configure a new simulation or Edit if you already have settings in place.
Step Five - Enter the Sending domain(s)
You should add each SMPhish domain you wish to send simulations from, but this is limited to 50 domains, so you should only enter what you require. You must add this domain to allow a custom sender address domain:
user-training.com
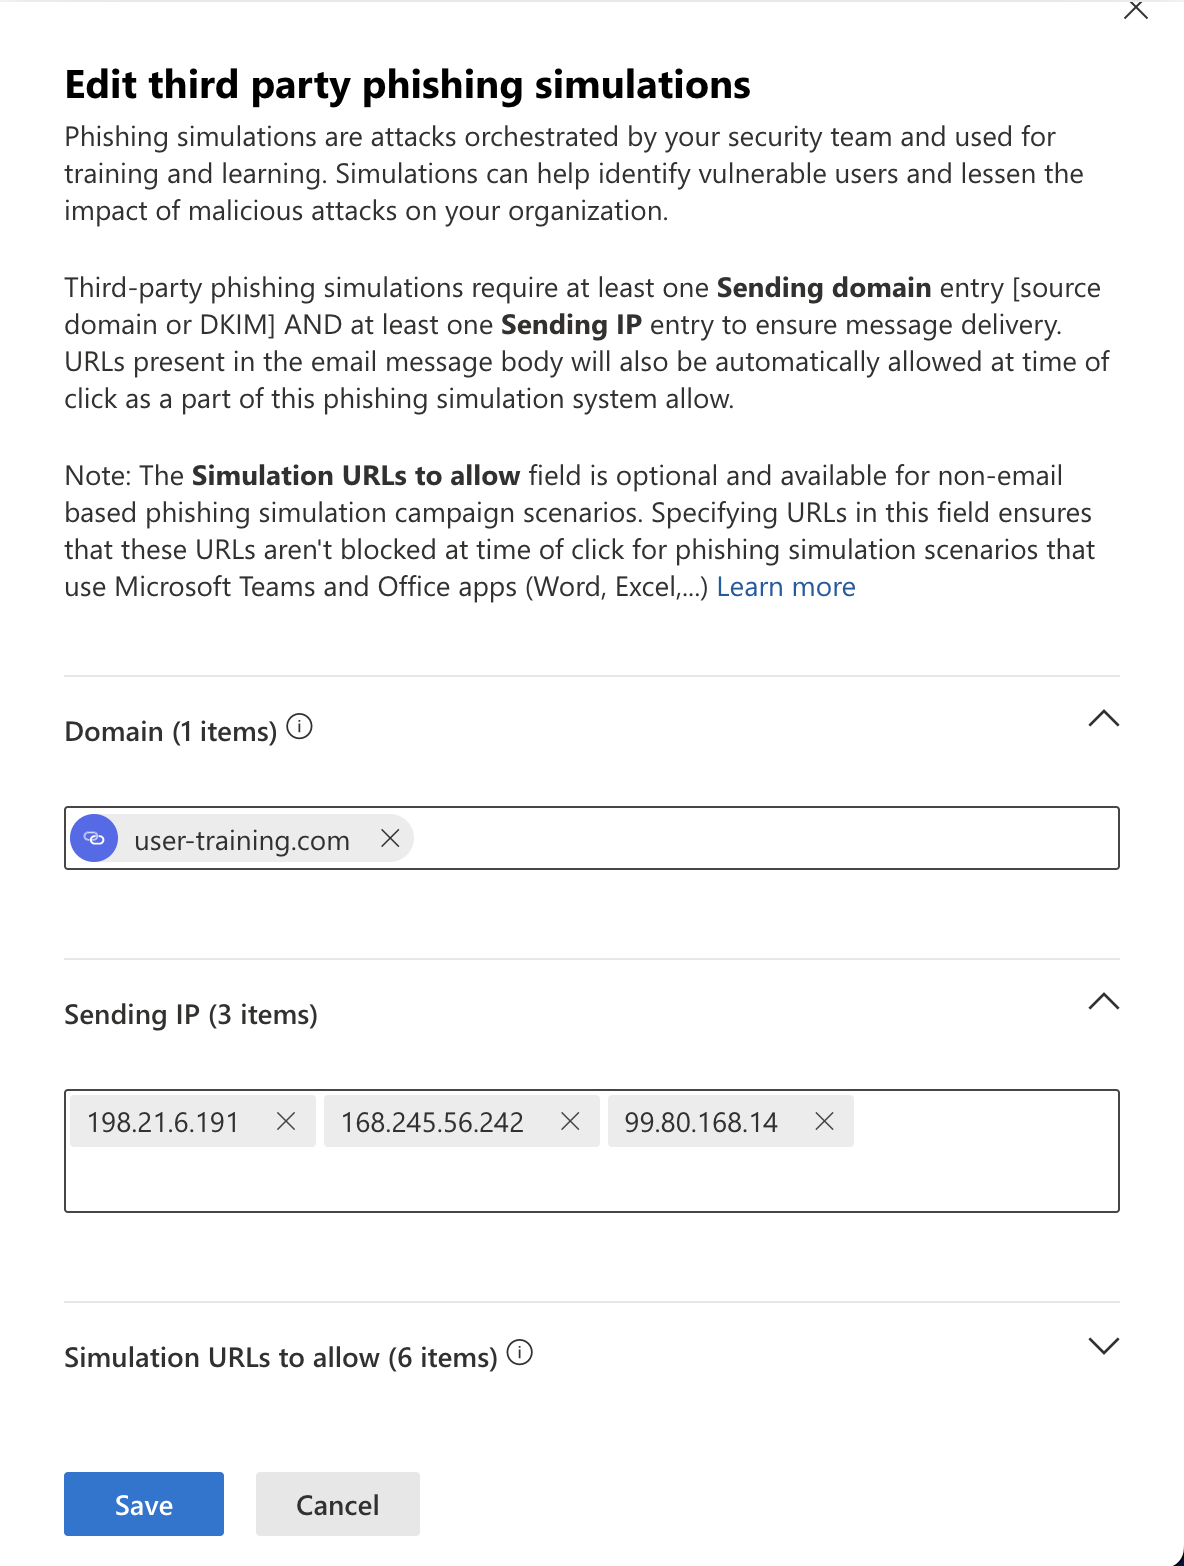
Step Six - Enter the Sending IPs
The SiberMate IP addresses are listed below:
198.21.6.191

168.245.56.242

99.80.168.14
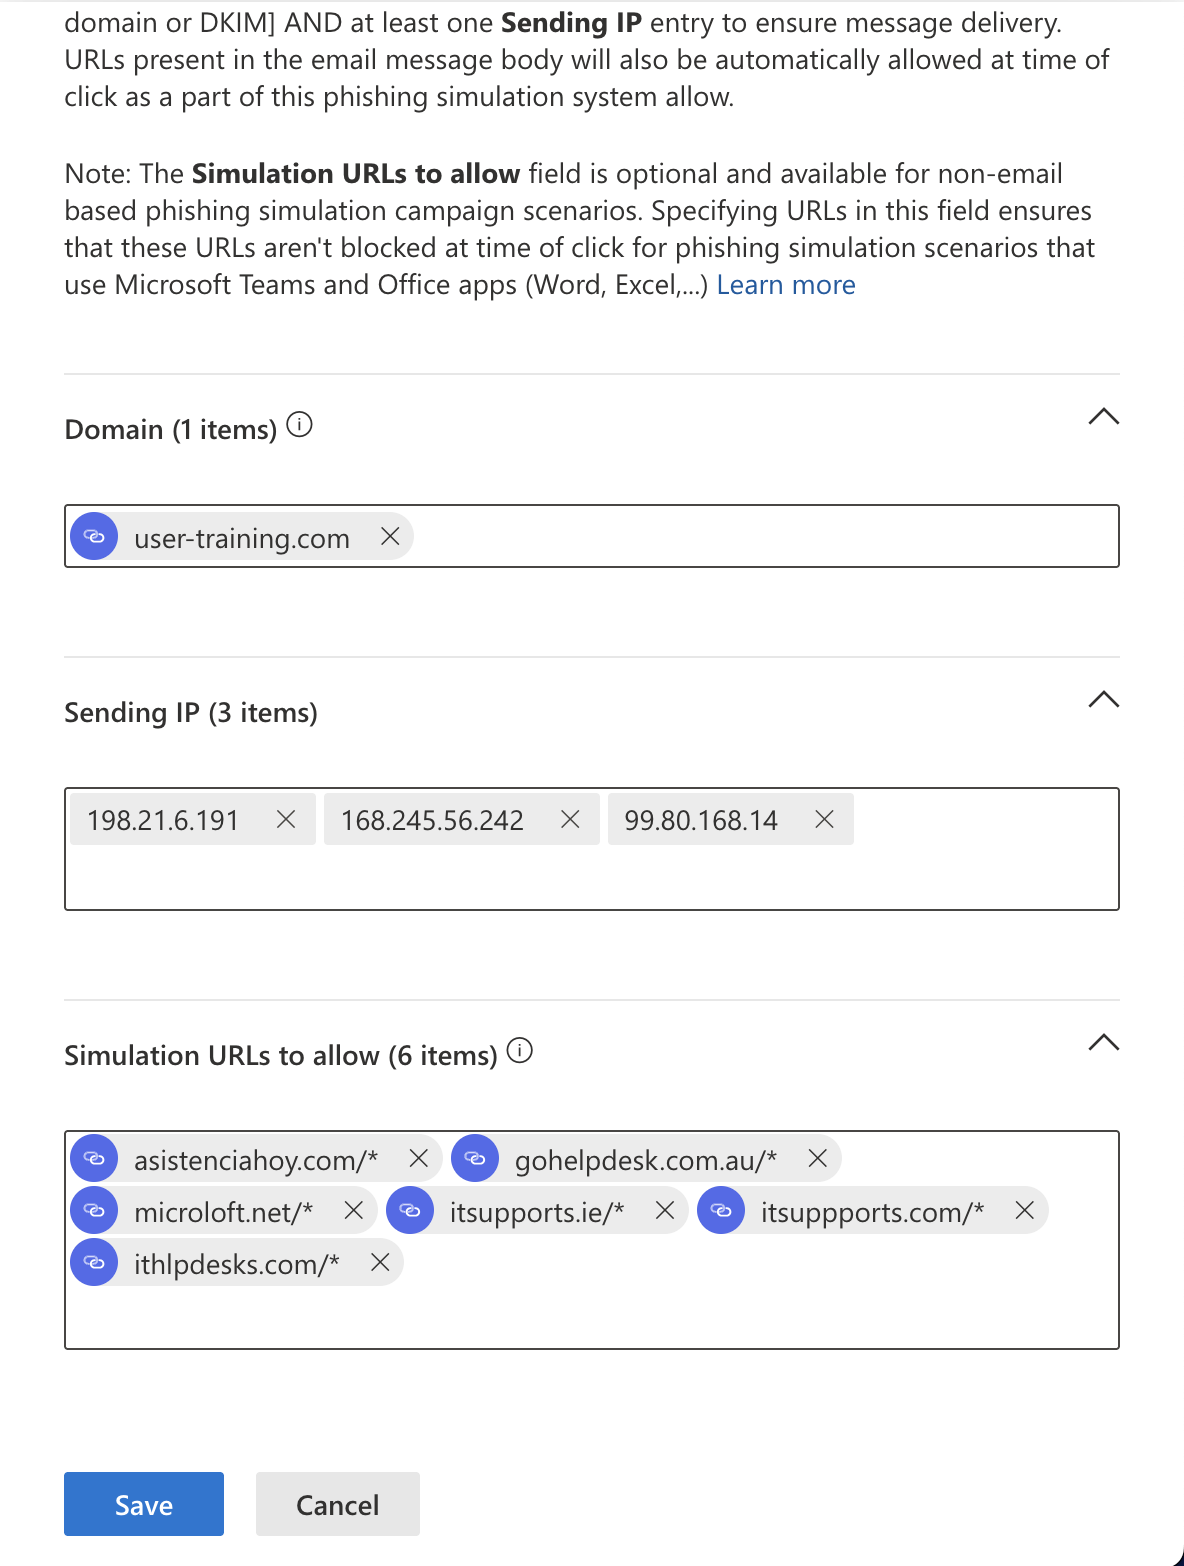
Step Seven - Enter the Simulation URL(s)
You should add a URL for each landing page domain you wish to use. You will need to use a wildcard in order for the phishing URL to be detected e.g. itsupports.com/*
NOTE: Your simulations must use the same sender and landing page domain in order for links to be permitted via Advanced Delivery. Alternatively, you can configure a mail flow rule to disable safe links.
Step Eight - Save your settings
Click Add (or Save if editing an existing config). There can be a delay in configuration changes taking effect. We recommend that you send a test phishing email to check that the Advanced Delivery config is working.
You can also read instructions for the above on the Microsoft Website.